
MacTalk
March 2023
Filling Out Your Cookbook Shelves with ckbk
Toolbars in macOS make performing common tasks much easier in apps, but you can make them better. He’s how to arrange them to your liking.
Ever since the Mac debuted in 1984, macOS windows have displayed useful info in them to help determine folder and storage contents. But when Mac OS X was released in 2000, Apple added toolbars and sidebars to Mac windows, creating shortcuts and other tools.
Today, macOS allows you to customize toolbars in macOS windows, as well as status and path bars which provide additional info.
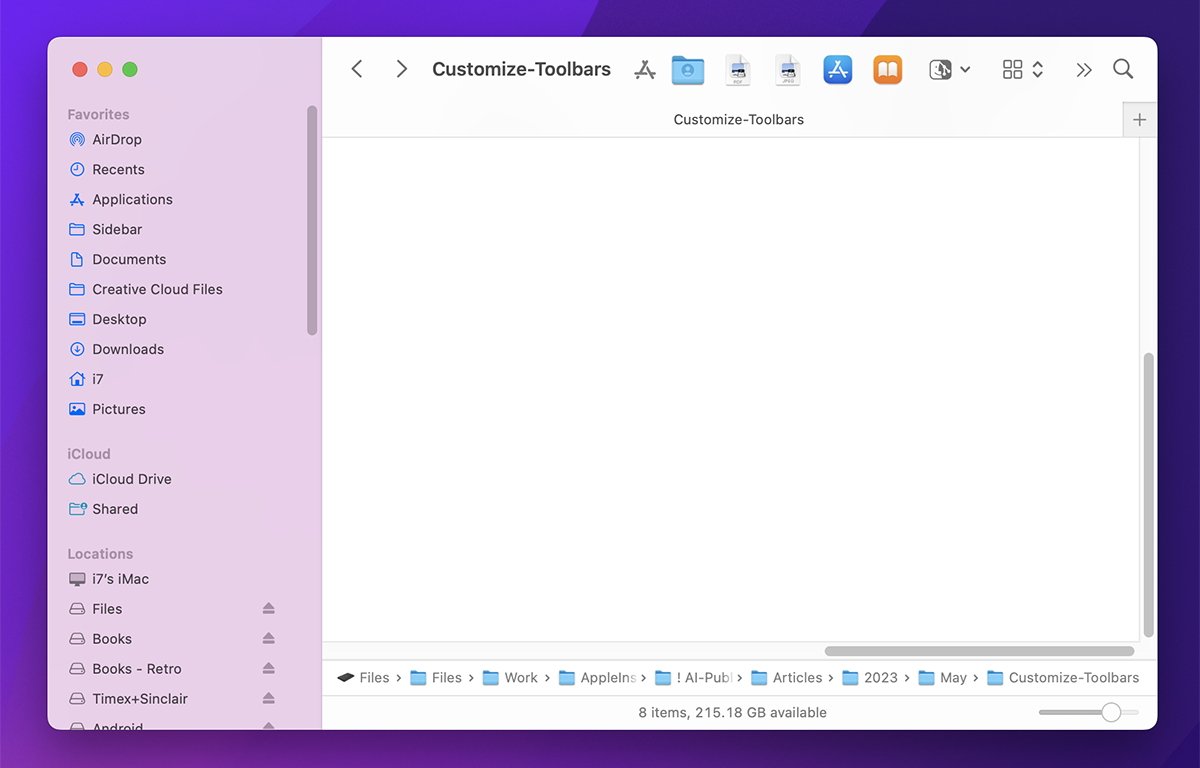
Customize Finder window Toolbars
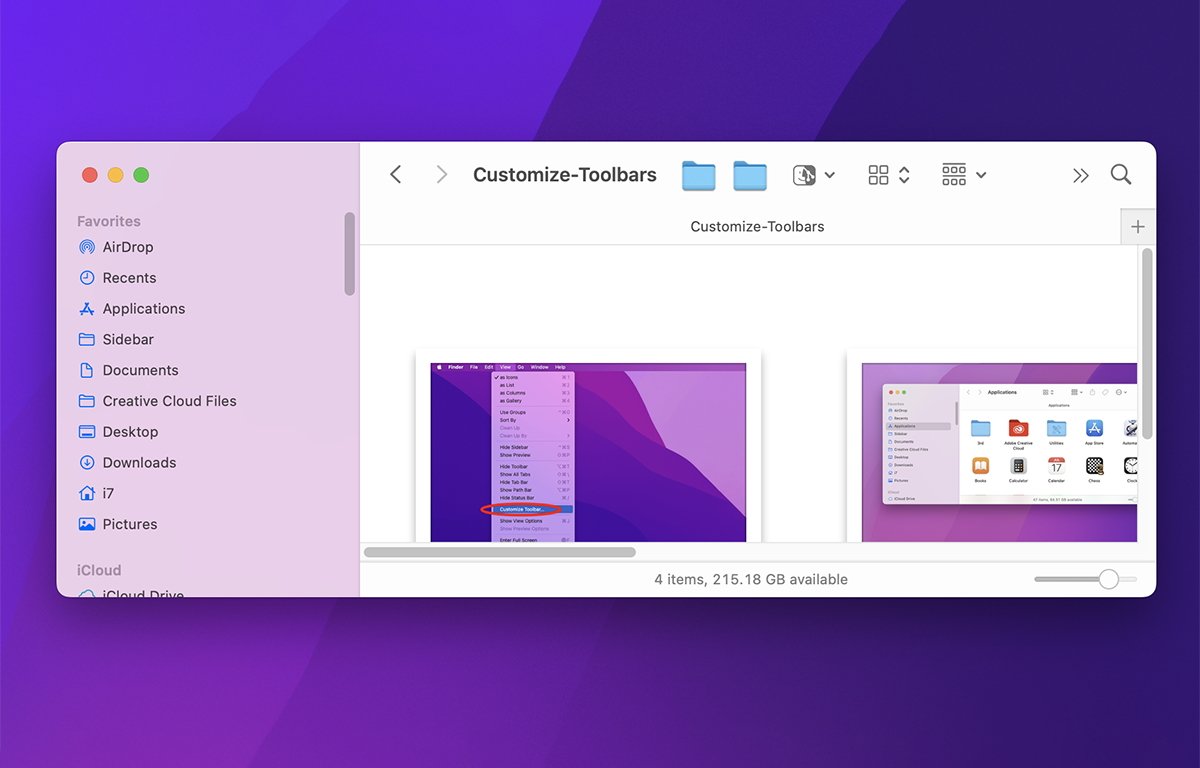
To customize window Toolbars in the macOS Finder use the View menu in the main menubar. This menu contains items for showing and hiding the Toolbar, the Status Bar, the folder’s Path Bar, and Tabs.
Most importantly it has a menu item called Customize Toolbar.
If you hide everything but the Status Bar in the window – which shows the number of items in the window’s folder, and the total free space left on its volume, you end up with a window just like the original Mac had, but in color.
You can also toggle the window’s Sidebar on and off by selecting View->Hide Sidebar. If you select View->Show Preview, the window also displays a small Preview pane on the right side:
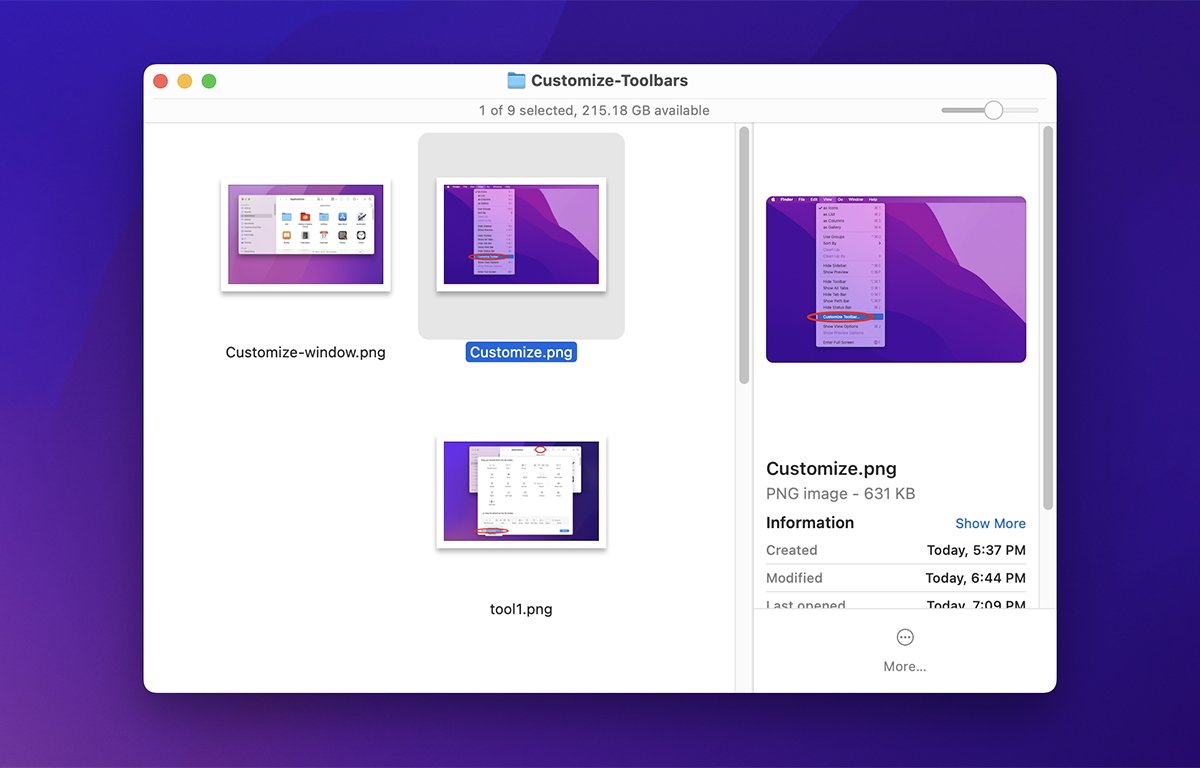
Once the Preview pane is turned on, single-clicking any item in the window will display a thumbnail for the item, as well as info such as creation date, modification date, dimensions, and color space. Note when you display the Preview it limits the sizes of the icons in the window to a few sizes.
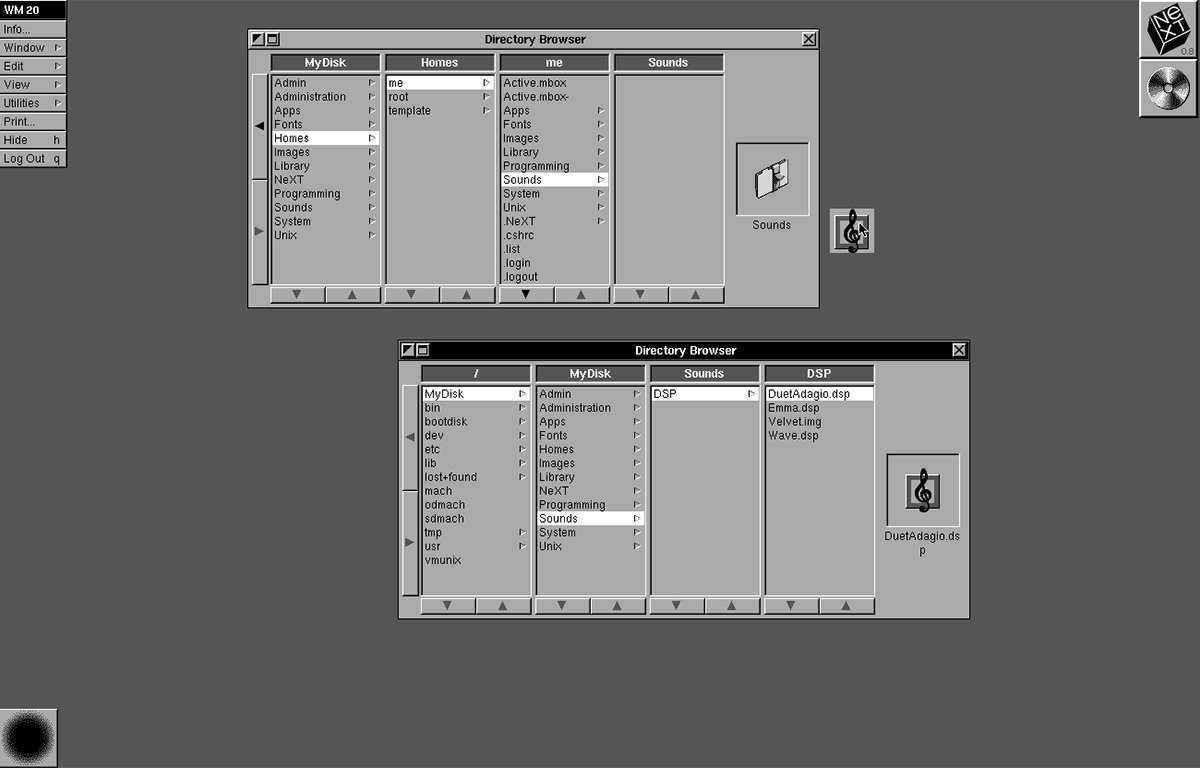
The Preview pane is a feature dating all the way back to macOS’s origins in NeXTStep:
Using Customize Toolbar
Across the top of the window in the Toolbar are a set of icons, which you can customize. The default icons are Grid View, Item Grouping, Context Menu, Share Sheet, Tags, and Search.
On the left side of the Toolbar, there are also Forward/Backward Navigation, and the folder’s name. You probably don’t want to ever remove these items or you’ll lose folder navigation in the Toolbar.
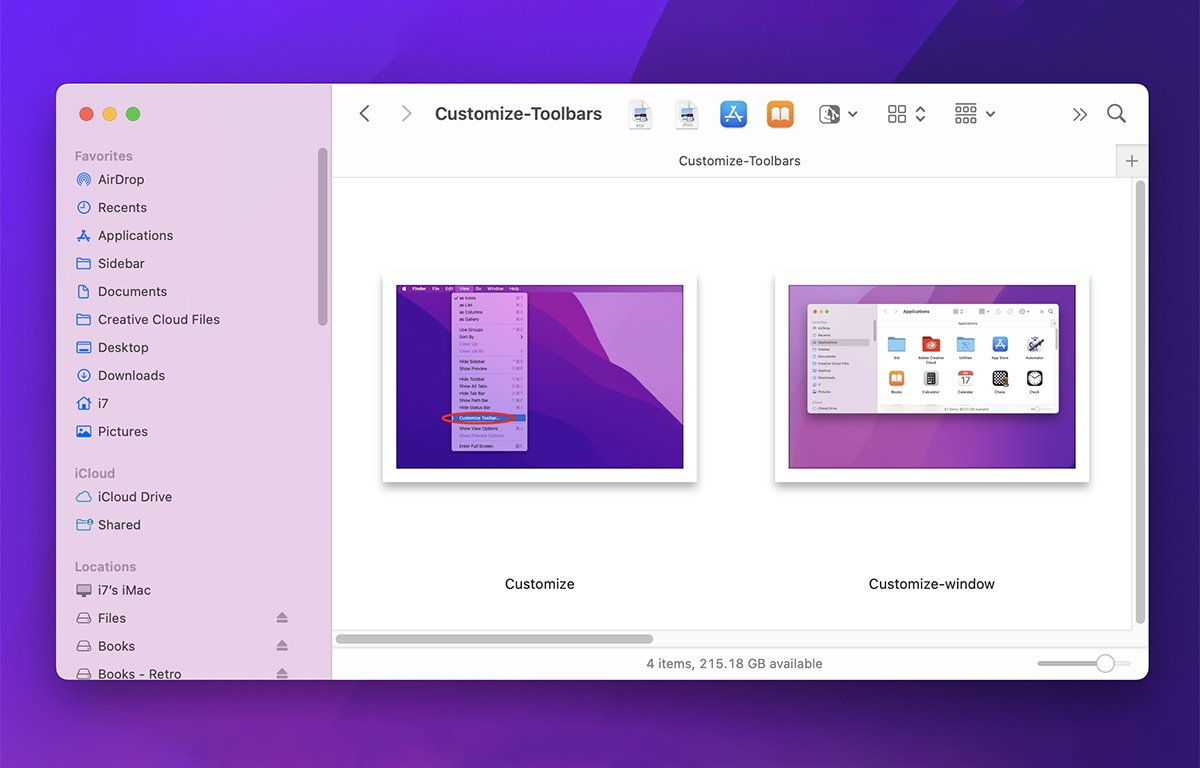
To customize items in the Toolbar, select View->Customize Toolbar… in the Finder. This displays the Toolbar sheet:
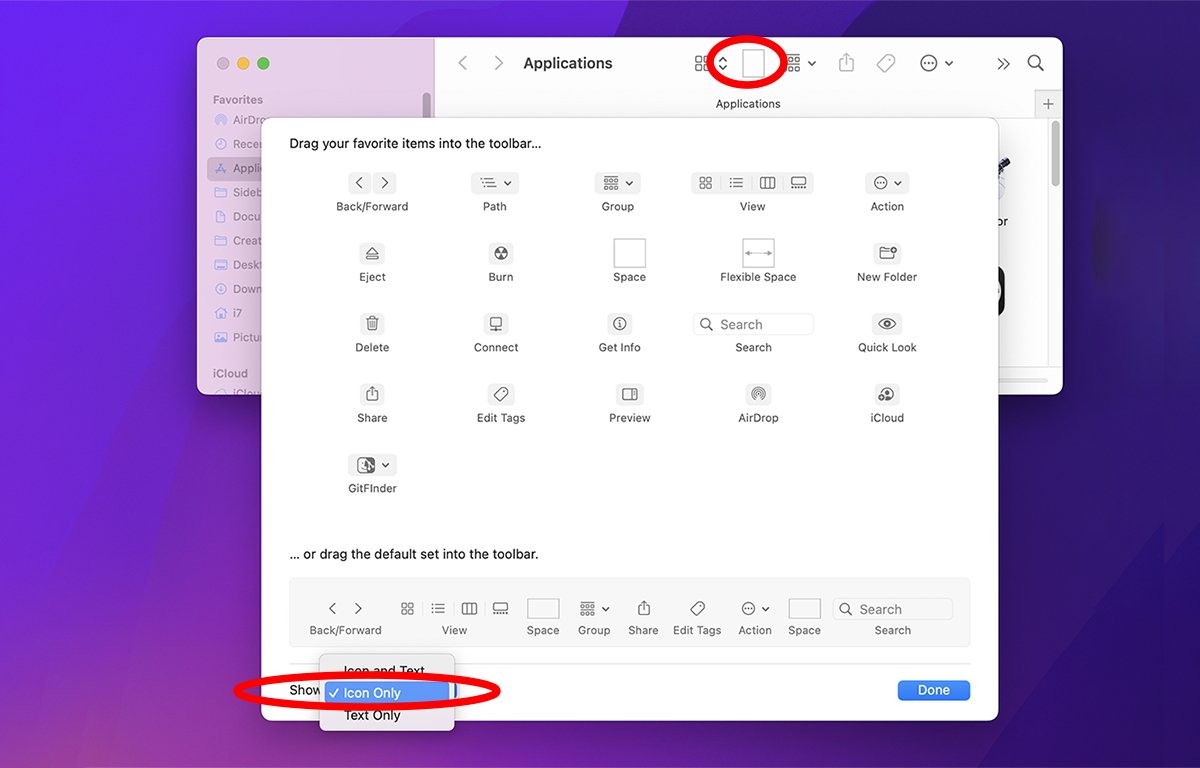
Once in Customize mode, you can drag icons into the window’s Toolbar from the sheet. You can drag items out of the Toolbar and outside the window’s bounds to remove them.
You can also reset the entire Toolbar to its default set by dragging the set at the bottom of the Toolbar sheet back to the top of the window. You can change which items are displayed under each icon in the Toolbar from the Show: popup menu at the bottom of the sheet.
Once you’ve made all your changes to the Toolbar, click the Done button. The sheet disappears.
Adding apps, folders, and files
Unknown to most users, you can also add apps, folders, and files to the Toolbar.
To do so, hold down the Command key on the keyboard and drag an app, file, or folder from Finder into the Toolbar. You don’t need to be in editing mode to do this.
The only downside to dragging files and folders to the Toolbar is you have to drag them one at a time: you can’t drag multiple items at once. If you do, they will snap back in the Finder.
Once you have all the items you want in the Toolbar, you can reorder any of them at any time by holding down the Command key, then clicking and dragging on them to rearrange them.
As you hold down the Command key, all Toolbar items wobble sort of like iOS apps do on the Springboard when editing the home screen.
Once you’ve added apps, files, and folders to the Toolbar you can open apps and files by simply clicking on them. If you click on a folder you added, it changes the contents in the window to the folder shortcut you clicked on.
Show Tabs, Path, and Status
A few more items in Finder’s View menu are handy for changing the views in Finder folder windows:
- Show All Tabs
- Show Tab Bar
- Show Path Bar
- Hide Status Bar
If the Tab Bar isn’t already visible in a Finder window, show it by selecting View->Show Tab Bar.
The Tab Bar will appear at the top of the window with a “+” button on the right side. Clicking it opens a new Tab in the Tab Bar.
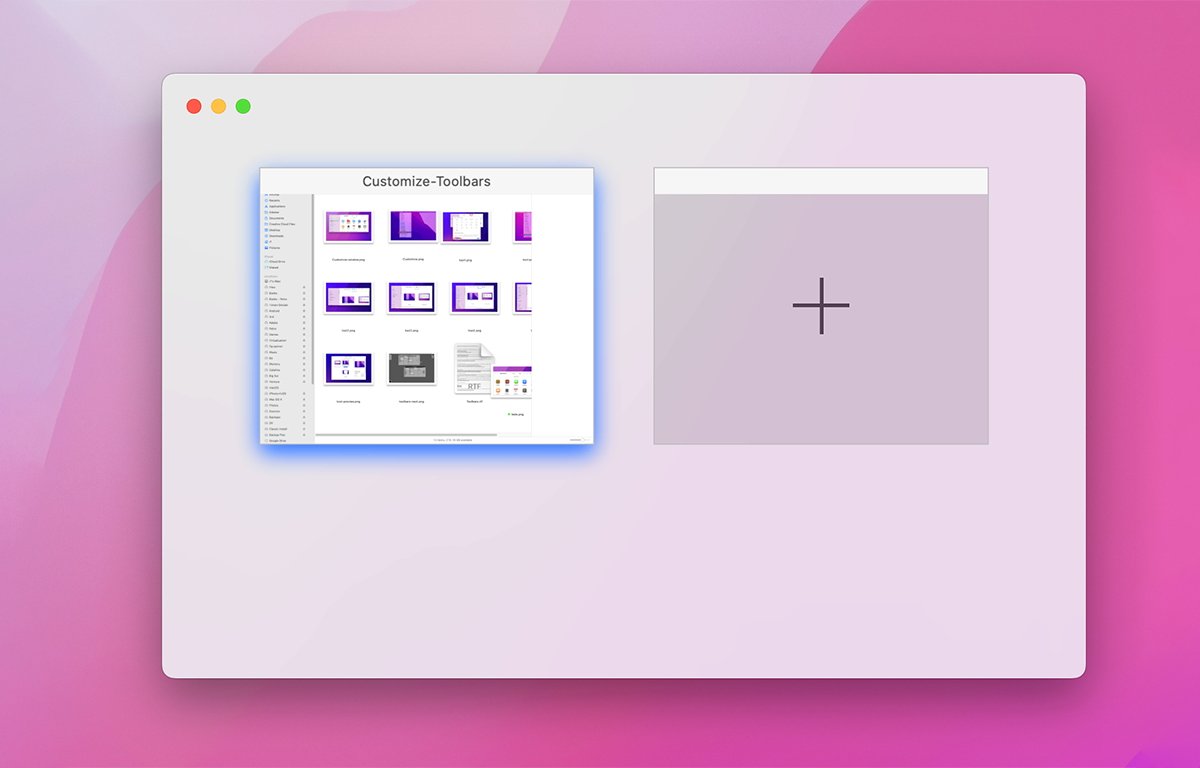
If the Tab Bar is visible, selecting View->Show All Tabs enters Tab Overview Mode with a large icon containing each Tab’s contents – and a large “+” button:
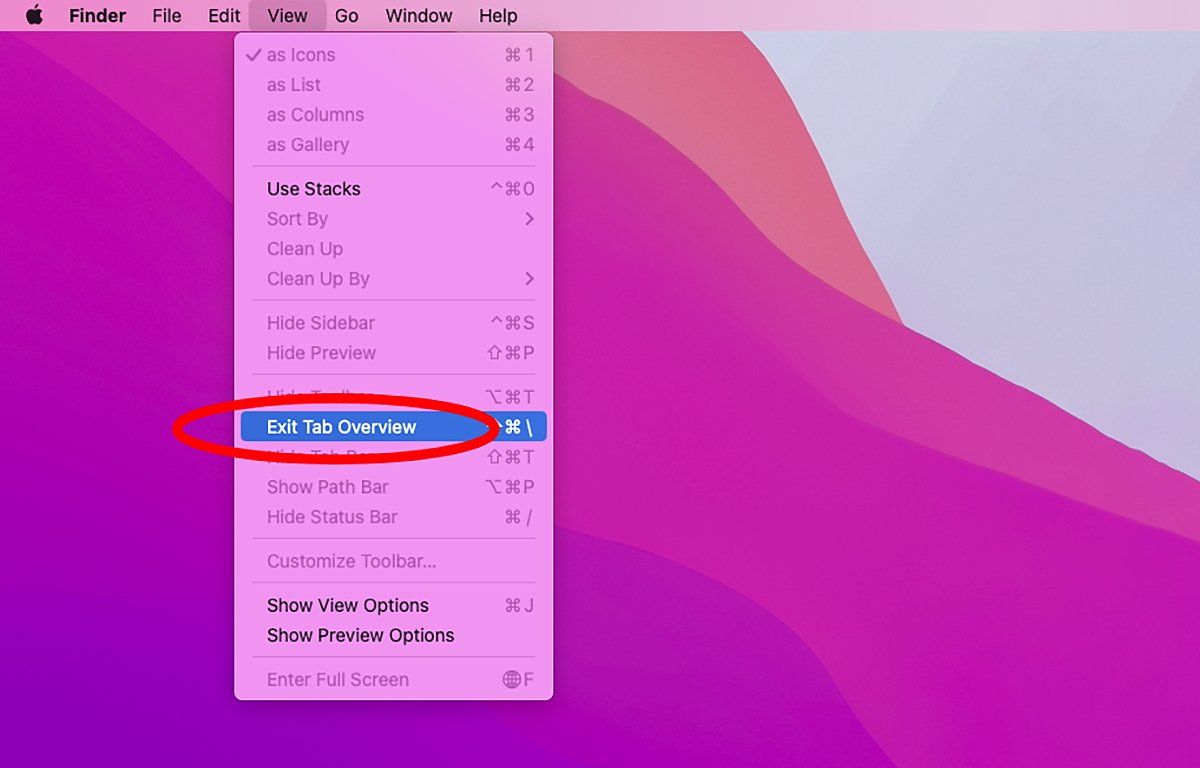
To exit the Tab Overview Mode, select View->Exit Tab Overview. You can also exit Tab Overview Mode by pressing esc on the keyboard:
Selecting View->Show Path Bar displays a small bar at the bottom of Finder windows, one showing the full path to the current folder as a set of icons and their names:
Selecting View->Hide Status Bar hides the original Mac Finder window info: the number of items in the folder, and the total free space left on the folder’s volume.
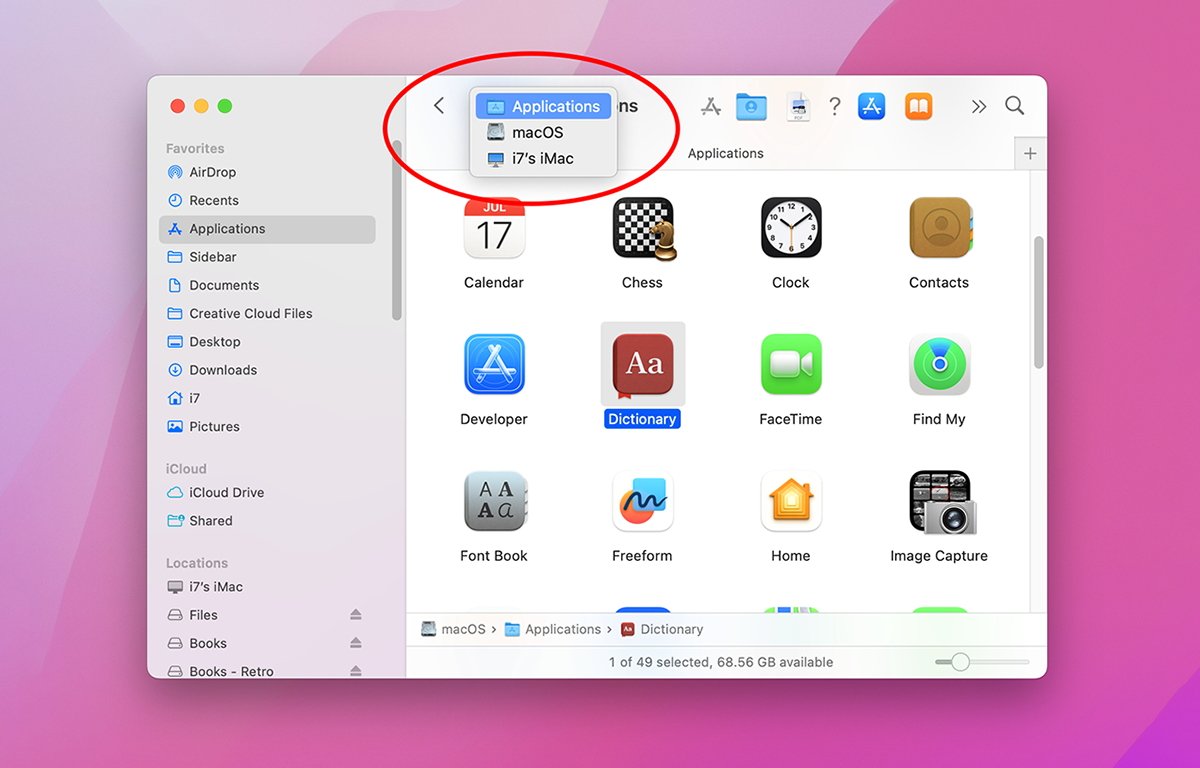
Command-click a folder’s name
If you Command-click or right-click a folder’s name at the top of a Finder window, you get a path navigation popup that shows the entire path on the Folder’s volume. Except it’s put in a popup menu instead of in the Path Bar.
From the popup menu, you can jump to any other folder in the path hierarchy by selecting it from the menu:
There are lots of ways you can customize Finder toolbars to make them look the way you want – and provide lots of shortcuts to get to your work faster.
Contents

Click for special offers to Mac Users Groups members.

Website design by Blue Heron Web Designs

Click the image for information about advertising on this website.